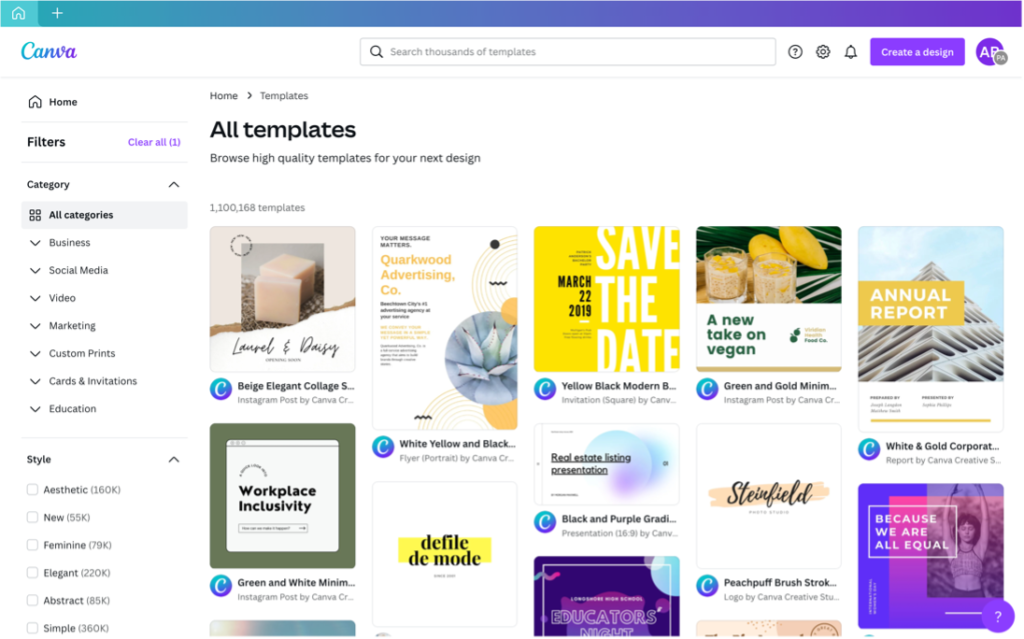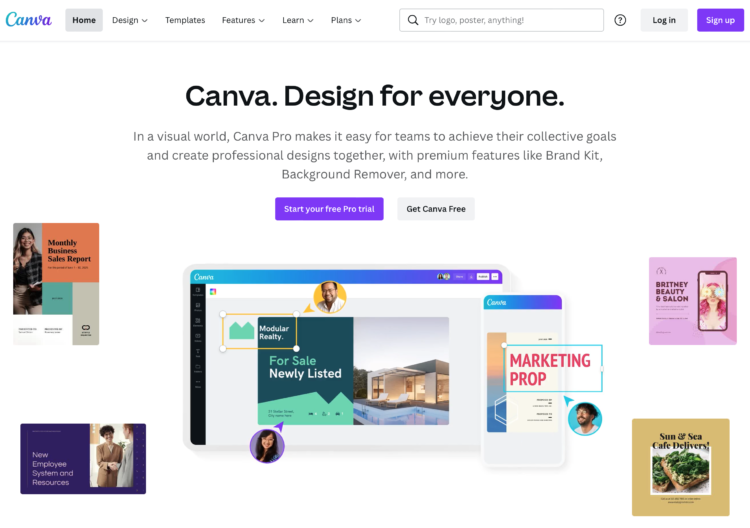
For many marketers, designing graphics, social posts, and other collateral can be a time-consuming task. A tool like Canva makes designing quicker and can ease the stress on your marketing team. While there is an option to upgrade to Canva Pro for more extensive tools, most of its capabilities are available with a free account. The user interface is also a lot cleaner and simpler to use than Adobe InDesign or Illustrator, for example. If you’re looking for a faster way to get designs out the door, Canva is the place to do it. Canva provides social media templates, design elements, and other tools to navigate your design needs. The following are some tips to get the most out of Canva.
1. Establish a brand kit.
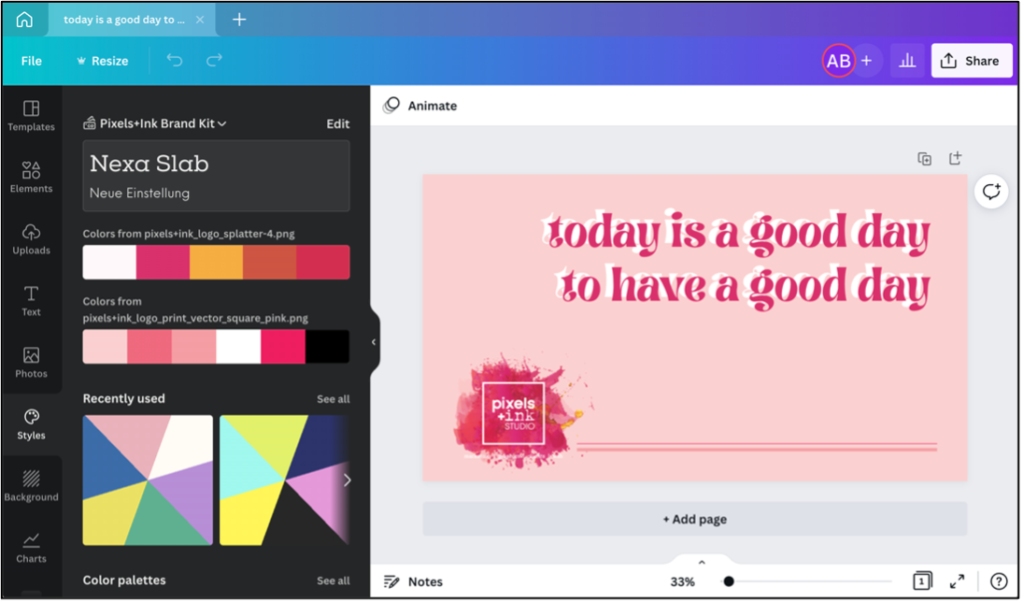
When you design for any company, there will always be brand standards you need to follow. As a Canva Pro member, you can set up a brand kit by uploading logos, fonts, color palettes, and sizing standards. Your brand standards are now readily available within any of your designs. Brand kits are also beneficial when working on a team to ensure everyone uses the right colors, fonts, and updated logos.
2. Create Folders and Set Up Teams
Unfortunately, your Canva home page can start to look like a messy desktop after a while. It’s full of different designs and graphics, and it can be difficult to find anything when you need it. By setting up folders for each project or campaign you’re working on, you can sort your designs as you create them. You can also filter by date or keyword, so finding past designs is super quick.
Another great tool is the ability to work with your team. Collaborative work with Canva has never been easier. As team members, you can see what people are doing in real-time, leave comments, or even make edits together.
Corralling a large marketing team can be difficult. Grouping individuals on Canva is key to keeping everyone organized. Set up groups of people within your team and assign them to specific folders or projects. For example, create a social media group and then assign them specific folders/designs designated for social media.
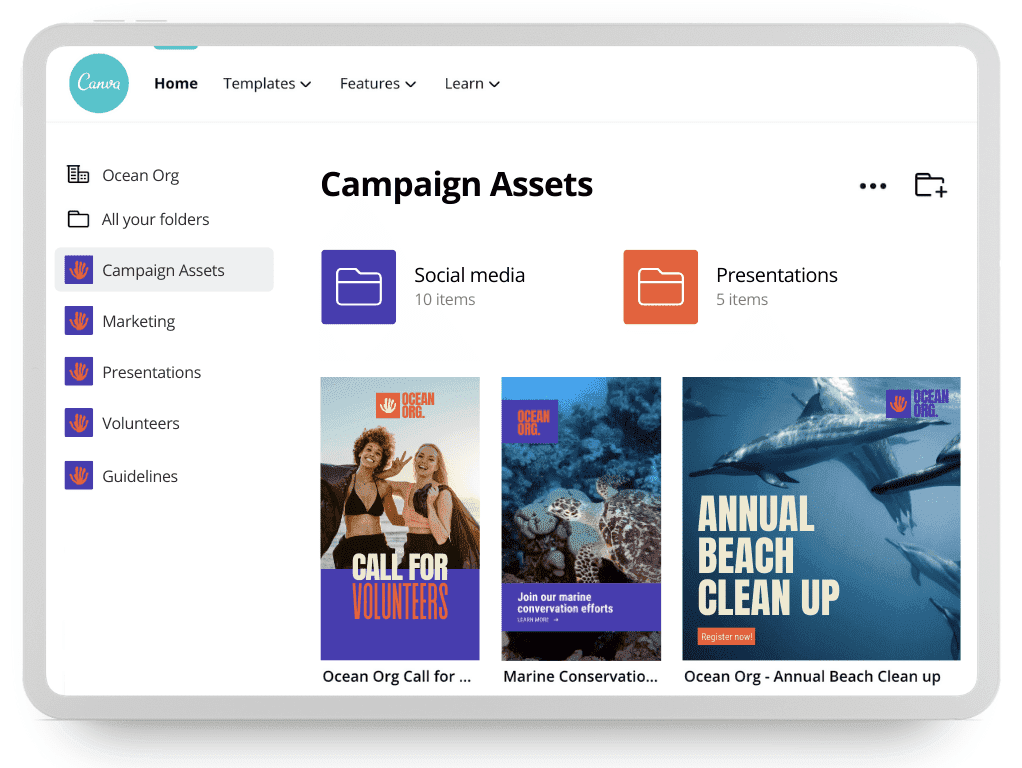
Image by Canva.
3. Use Canva Content Planner for Social Media
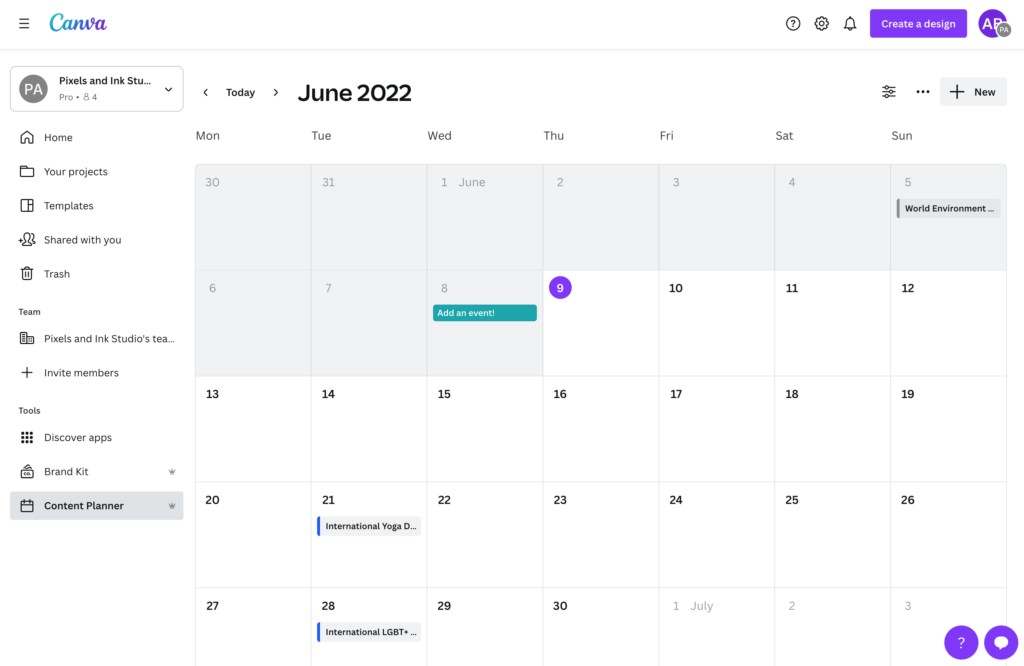
Content planning can be complex for Social Media teams when you can’t visualize what content and graphics you have planned throughout the month. Canva’s content planner is easy to use because before you even download your designs, you can use the built-in planner to plan your posts. A recent upgrade now allows you to link social media accounts to Canva, allowing you to post. This feature is part of the Canva Pro plan but can help cut costs of operating an extra third-party content planner.
4. Use built-in apps to edit photos within designs.
Sometimes, the photo you get for a post or graphic just doesn’t turn out how you expect. A nice tool in Canva is its photo editing capabilities within the design page. You can upload your images and edit them within your design. One of my favorite features is the “background remover” tool. It’s an accurate tool that helps elevate your images. Another photo editing tool is the smart mockup tool. This tool is a great alternative if you’re not well-versed in Adobe Photoshop. You can see your designs mocked up on smartphones, laptops, mugs, and many other items.
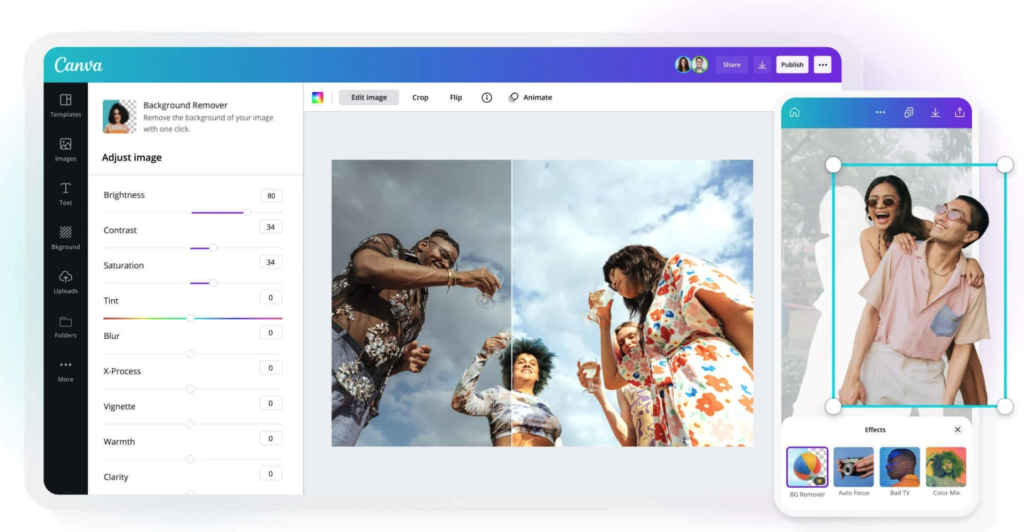
Image by Canva.
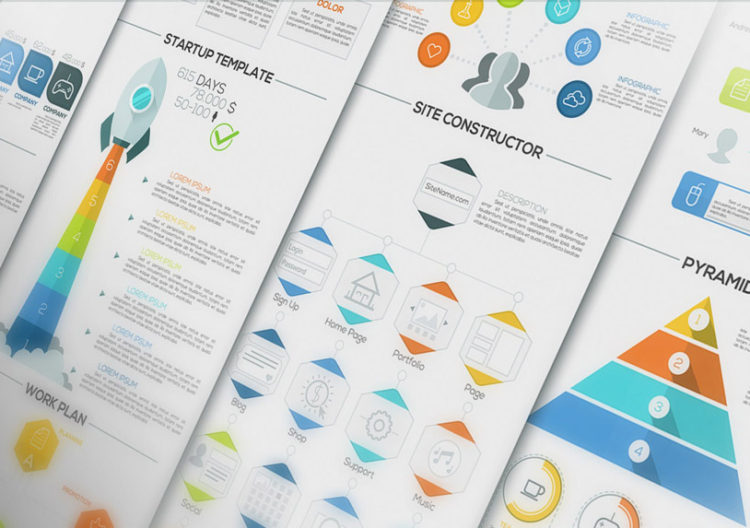
5. Create your own templates
Now that you’re a Canva expert and ready to take your team’s designs to the next level, you can create your own templates. Use templates to get a head start on designs with similar layouts. Creating templates is like any other design but publish it to your team as a template instead of downloading it. This feature is only available to team members designated as administrators, but all members can use templates.